Here in this post, I will put down the instructions for setting up the local developing environment for GSAS-II. See the legacy instructions in my previous post here for the old version of the source codes.
Conda Environment Setup
conda create -n gsasii_dev
conda activate gsasii_dev
conda install python numpy matplotlib wxpython pyopengl scipy git gitpython PyCifRW pillow conda requests hdf5 h5py imageio zarr xmltodict pybaselines seekpath pywin32 -c conda-forge -y
VSCode Debug Environment Setup
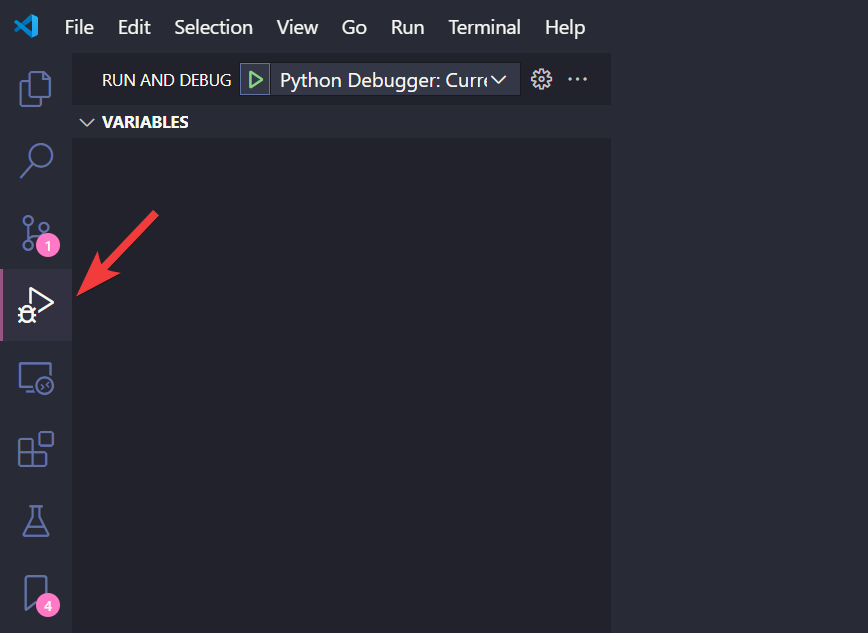
Click on Run and Debug in the VSCode side bar,

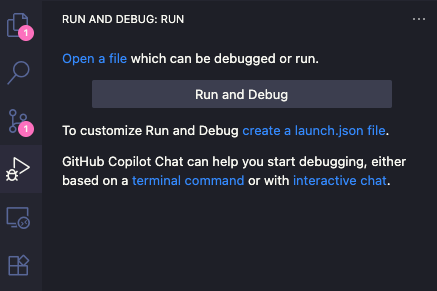
If the Run and Debug has never been configured for the currently opened folder, we should be able to see a link create a launch.json file as shown in the picture below,

Click on the link and VSCode will prompt to ask where to save the configuration file. Depending on the VSCode settings, we can either select to save to the cloud (if we ever logged in with our GitHub account in VSCode) or to a local file inside the current workspace (VSCode can save the current working directory and relevant configurations into a workspace). Either should be fine. The next prompt will ask us to select a debugger and here we want to choose Python Debugger. If asked to select the Debug Configuration, we want to select Python File (the first option in the list).
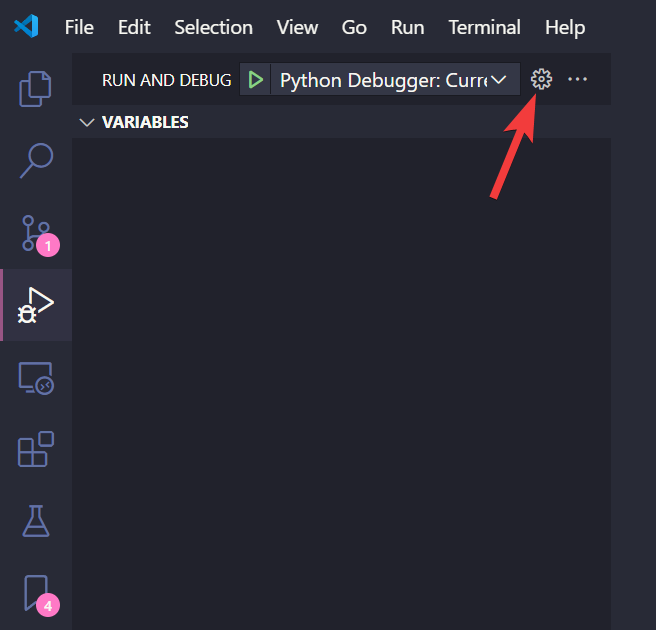
If a json file was ever initialized before, then click on the gear setting icon on the top to bring up the JSON configuration file,

In either situation, we want to populate the configuration file with the following contents,
{
    "version": "0.2.0",
    "configurations": [
        {
            "name": "Python Debugger: Current File",
            "type": "debugpy",
            "request": "launch",
            "python": "C:\\Users\\kviet\\.conda\\envs\\gsasii_dev\\python",
            "program": "GSASII\\G2.py",
            "console": "integratedTerminal"
        }
    ]
}
Change the python path to wherever your conda python is located.
For Unix-like OSs, the path is supposed to contain the forward slash
/instead of the\\for Windows as shown above.
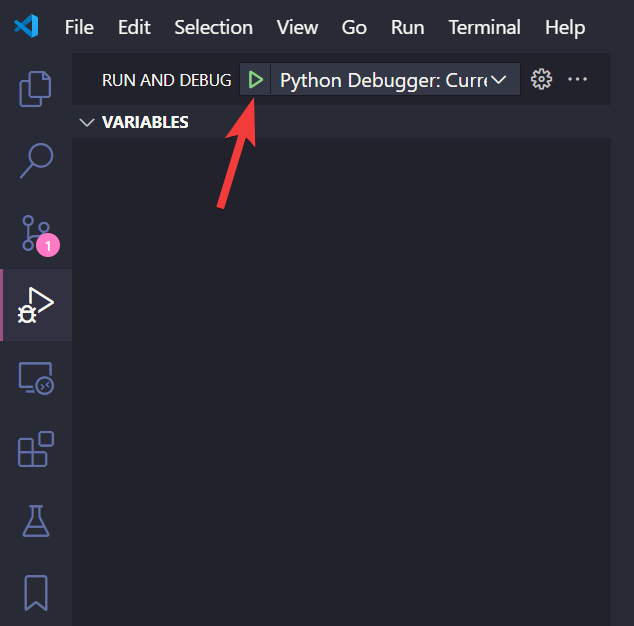
Press F5 or click on the run button as shown below,

to launch the GSAS-II GUI.
GSAS-II Binaries
For the main branch development, we no longer need to grab those binaries manually like in the old days with the master branch development. Now with the main branch, When launching the GSAS-II GUI for the first time, the program will check the existence of those binaries and if they are not existing in the dedicated location (the GSASII-bin directory under the main source code directory, i.e., parallel to the GSASII directory under the main source code directory). This will download the pre-built binaries from the web. If we want to build our own version of the binaries, we can refer to the instructions here.
Other options
The GSAS-II documentation page for developers also provide other ways of setting up the local development environment – see here.