Before we dive into the topic, I am sharing several of my typical needs that lead me to learn about something like netbird.
-
From my home network, I want to connect to the machines inside the firewall of my work place. For some companies, it may be possible to install the oraganization VPN service on the home computer with which one can connect to the internal network through the VPN. However, in my case, my organization VPN can only be used on the organization-owned machines and therefore there is no way I can use VPN on my home computer for the organization devices connection. My organization support the Citrix connection, but it is often very slow.
-
I have some virtual Windows machines (see this blog post for instructions about setting a virtual Windows server inside a docker container) inside my organization firewall and I want to use Windows remote desktop (RDP) to connect to the virtual machine. However, Windows RDP can only connect to machines that are in the same local network with the client machine. Again, VPN is usually used to let the client machine (e.g., the home computer) connect to the remote machine inside the firewall through the VPN. In my case, as I said above, this is also not possible.
-
I want to visit some web services that are only accessible through my organization. For example, the email service can only be accessed from within my organization firewall. Another typical need is to access those non-open-access journal publications. Once again, not being able to use the organization VPN on my home machines prevents me from doing such a simple job in a convenient way, unless I am patient enough to go with the very slow Citrix connection.
Having those practical needs for quite a while, I came across a YouTube video the other day introducing some interesting projects on GitHub and one of them is the main topic today – netbird. Since I am not a technical nerd and I don’t have any ideas about netbird and the technique behind it. But it just sounds interesting to me from the YouTube video and I just gave it a check out of curiosity. Checking it out, I found this is just the tool I need for quite a while. Though, I am still not fully into the technical world of the technique behind the scene (which actually seems to be a huge computer science scope from a non CS-major person like myself), I know how the technique is going to fill in my pocket regarding the several typical needs listed above. I think that is enough for me. As for what really is Network Address Translation (NAT) and how the NAT Traversal reall works, I probably will never have the capacity to learn about them.
So, in this blog post, I will only cover how I use netbird to meet my practical needs as listed above. At the end of the day, I realized,
-
SSH into the machines inside my organization firewall, without using VPN or Citrix, from my home computer.
-
Connect to the virtual Windows machine inside my oraganization firewall using Windows RDP from my home computer.
-
Visit some (unfortunately, not all) of the web services hosted inside my organization firewall, like the email server. Also, I am able to access those paywall protected journal publications, from my home computer.
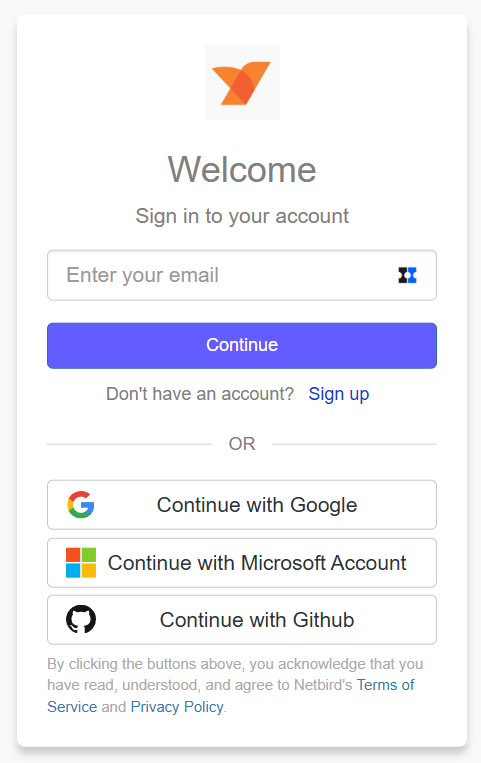
Now let’s start. First, we need to create a netbird account. Just go the website https://app.netbird.io/ and we can use Google, Microsoft or Github account to log in. For sure, we can also register an account with an email, either way.

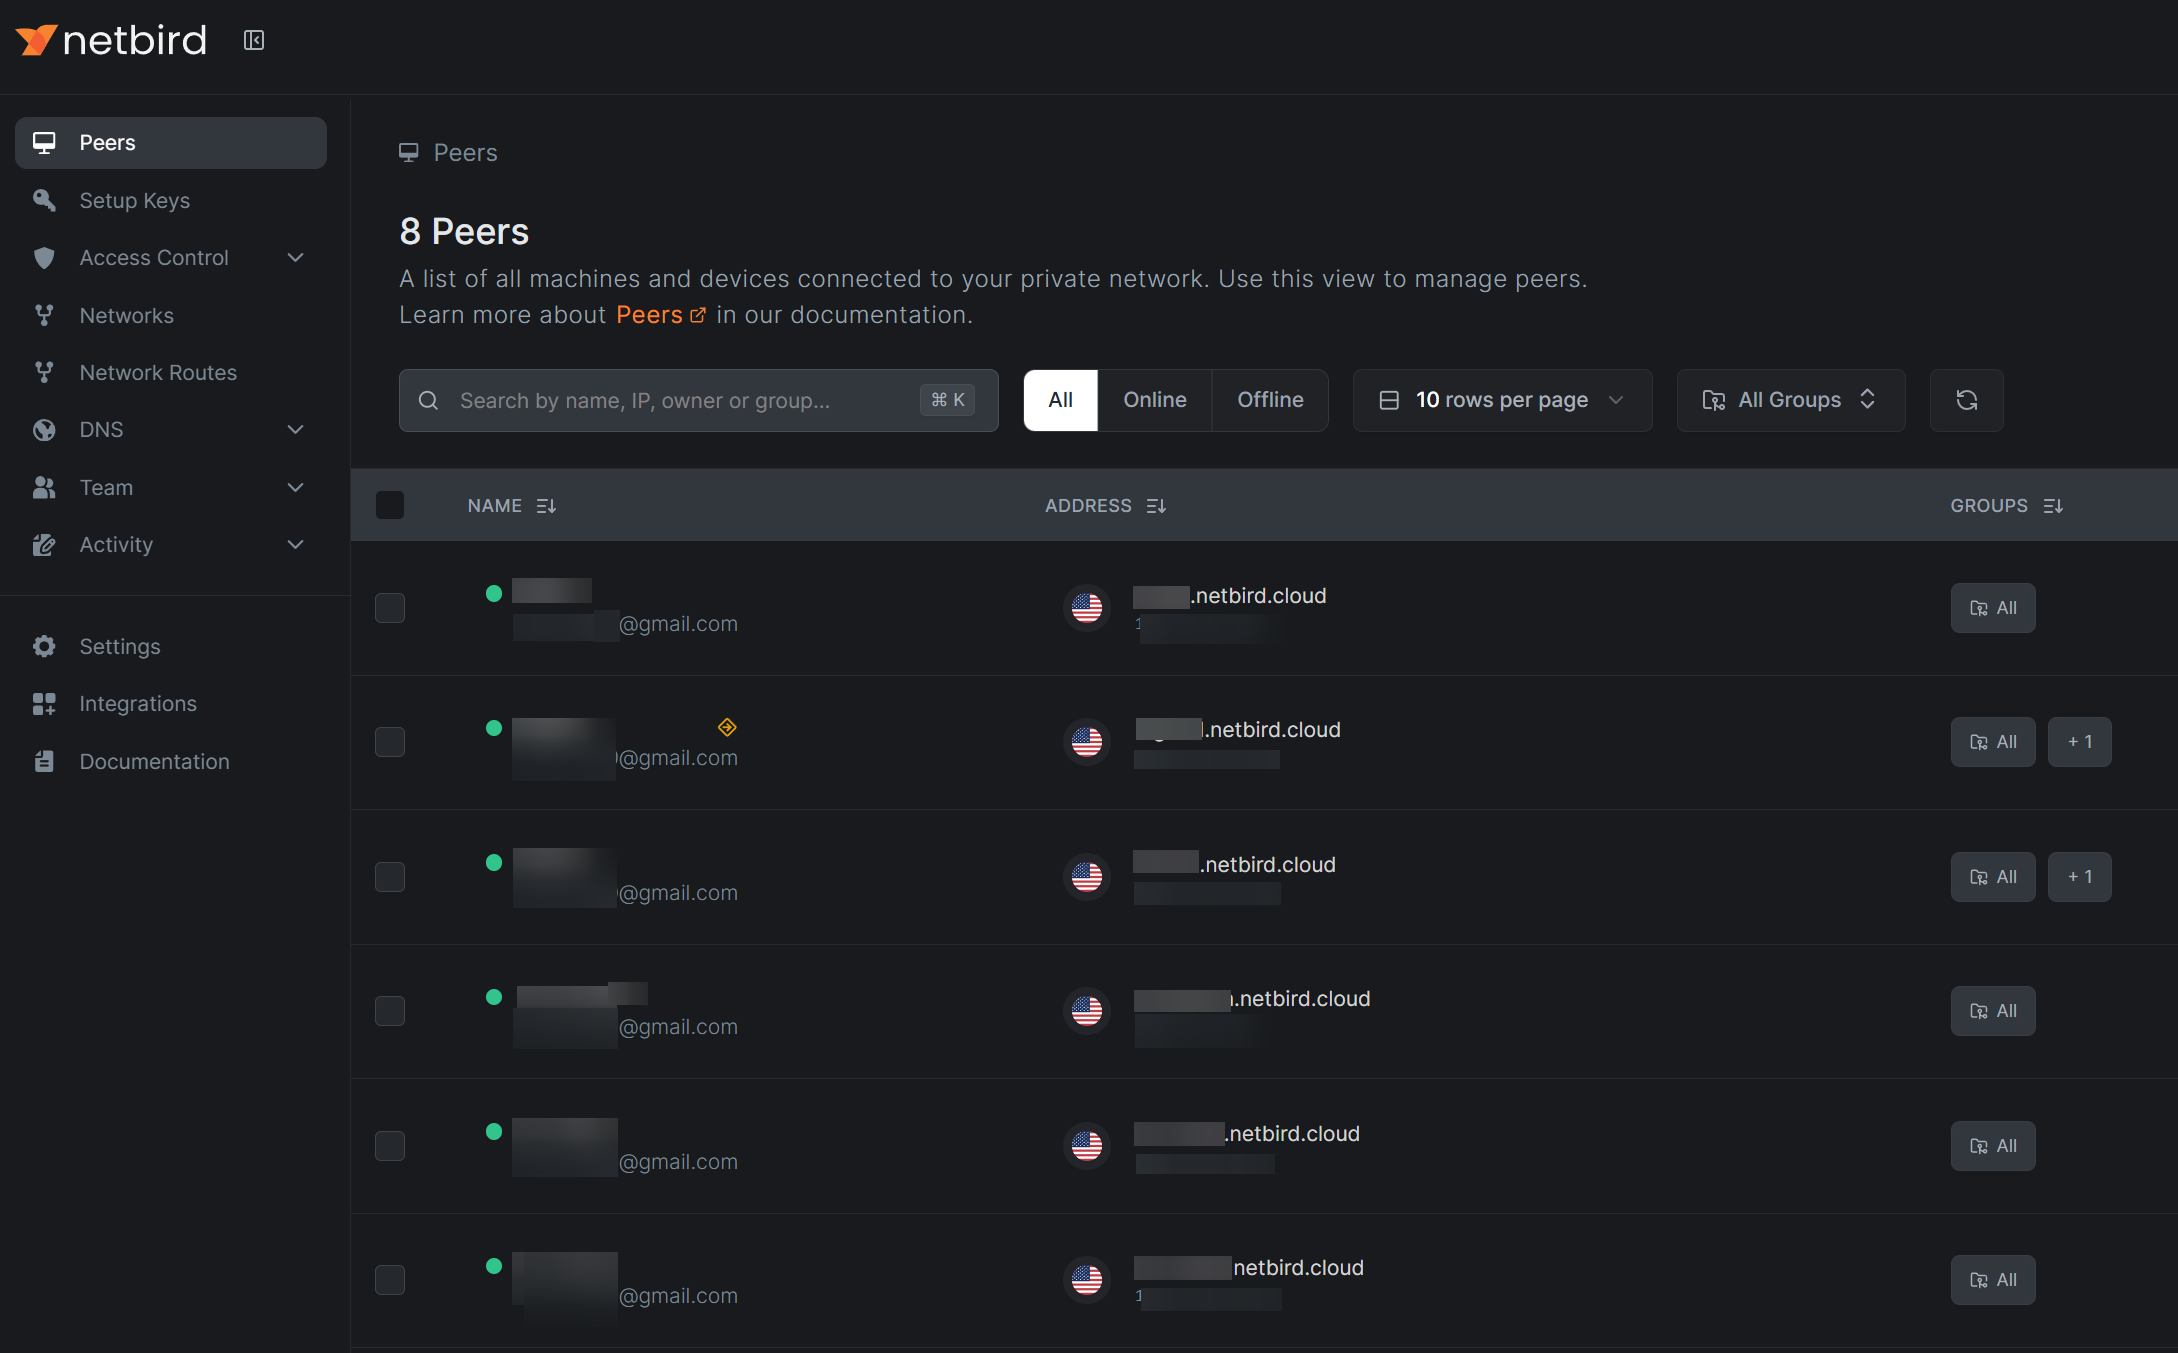
Once the account is ready and we successfull log in, we will be presented with the Peers interface in the dashboard. If it is the first time of login, we will be prompted with the installation instructions and we should follow the instructions there to install the netbird software on the machines that we want to inter-connect. In my case, I have my home desktop machine and several machines that I am in charge of (meaning I can install software on them) inside my organization firewall. For each of the machines, I need to install the netbird software and the installation instructions can be found in Ref. [1, 2] – Ref. [1] is just the prompted interface for the first-time login. Once the netbird software is installed on my machines, we need to log in with the netbird account. Usually, this is the email address associated with the netbird account. On different operating systems, the login procedure may be different but it is straightforward to follow – usually, we need to visit some redirected URL for the login purpose. Once logged in locally on our machines, the corresponding machines will appear in the Peers list in the netbird dashboard,

Now, all the machines appearing in the list form a ‘local’ network and they can now connect to each other directly, in a peer-to-peer manner. Each peer in the list is assigned a ‘local’ IP address and we can connect to each of those ‘local’ IP addresses from any of the machines in the list. Also, we can edit those machines to give them some meaningful name and the name will become part of the secondary domain name which can also be used for the connection (again, among machines inside such a ‘local’ network). Here I include local inside the quotatin mark since it is not really a local network, but the way they can connect to each other seems just like a local network.
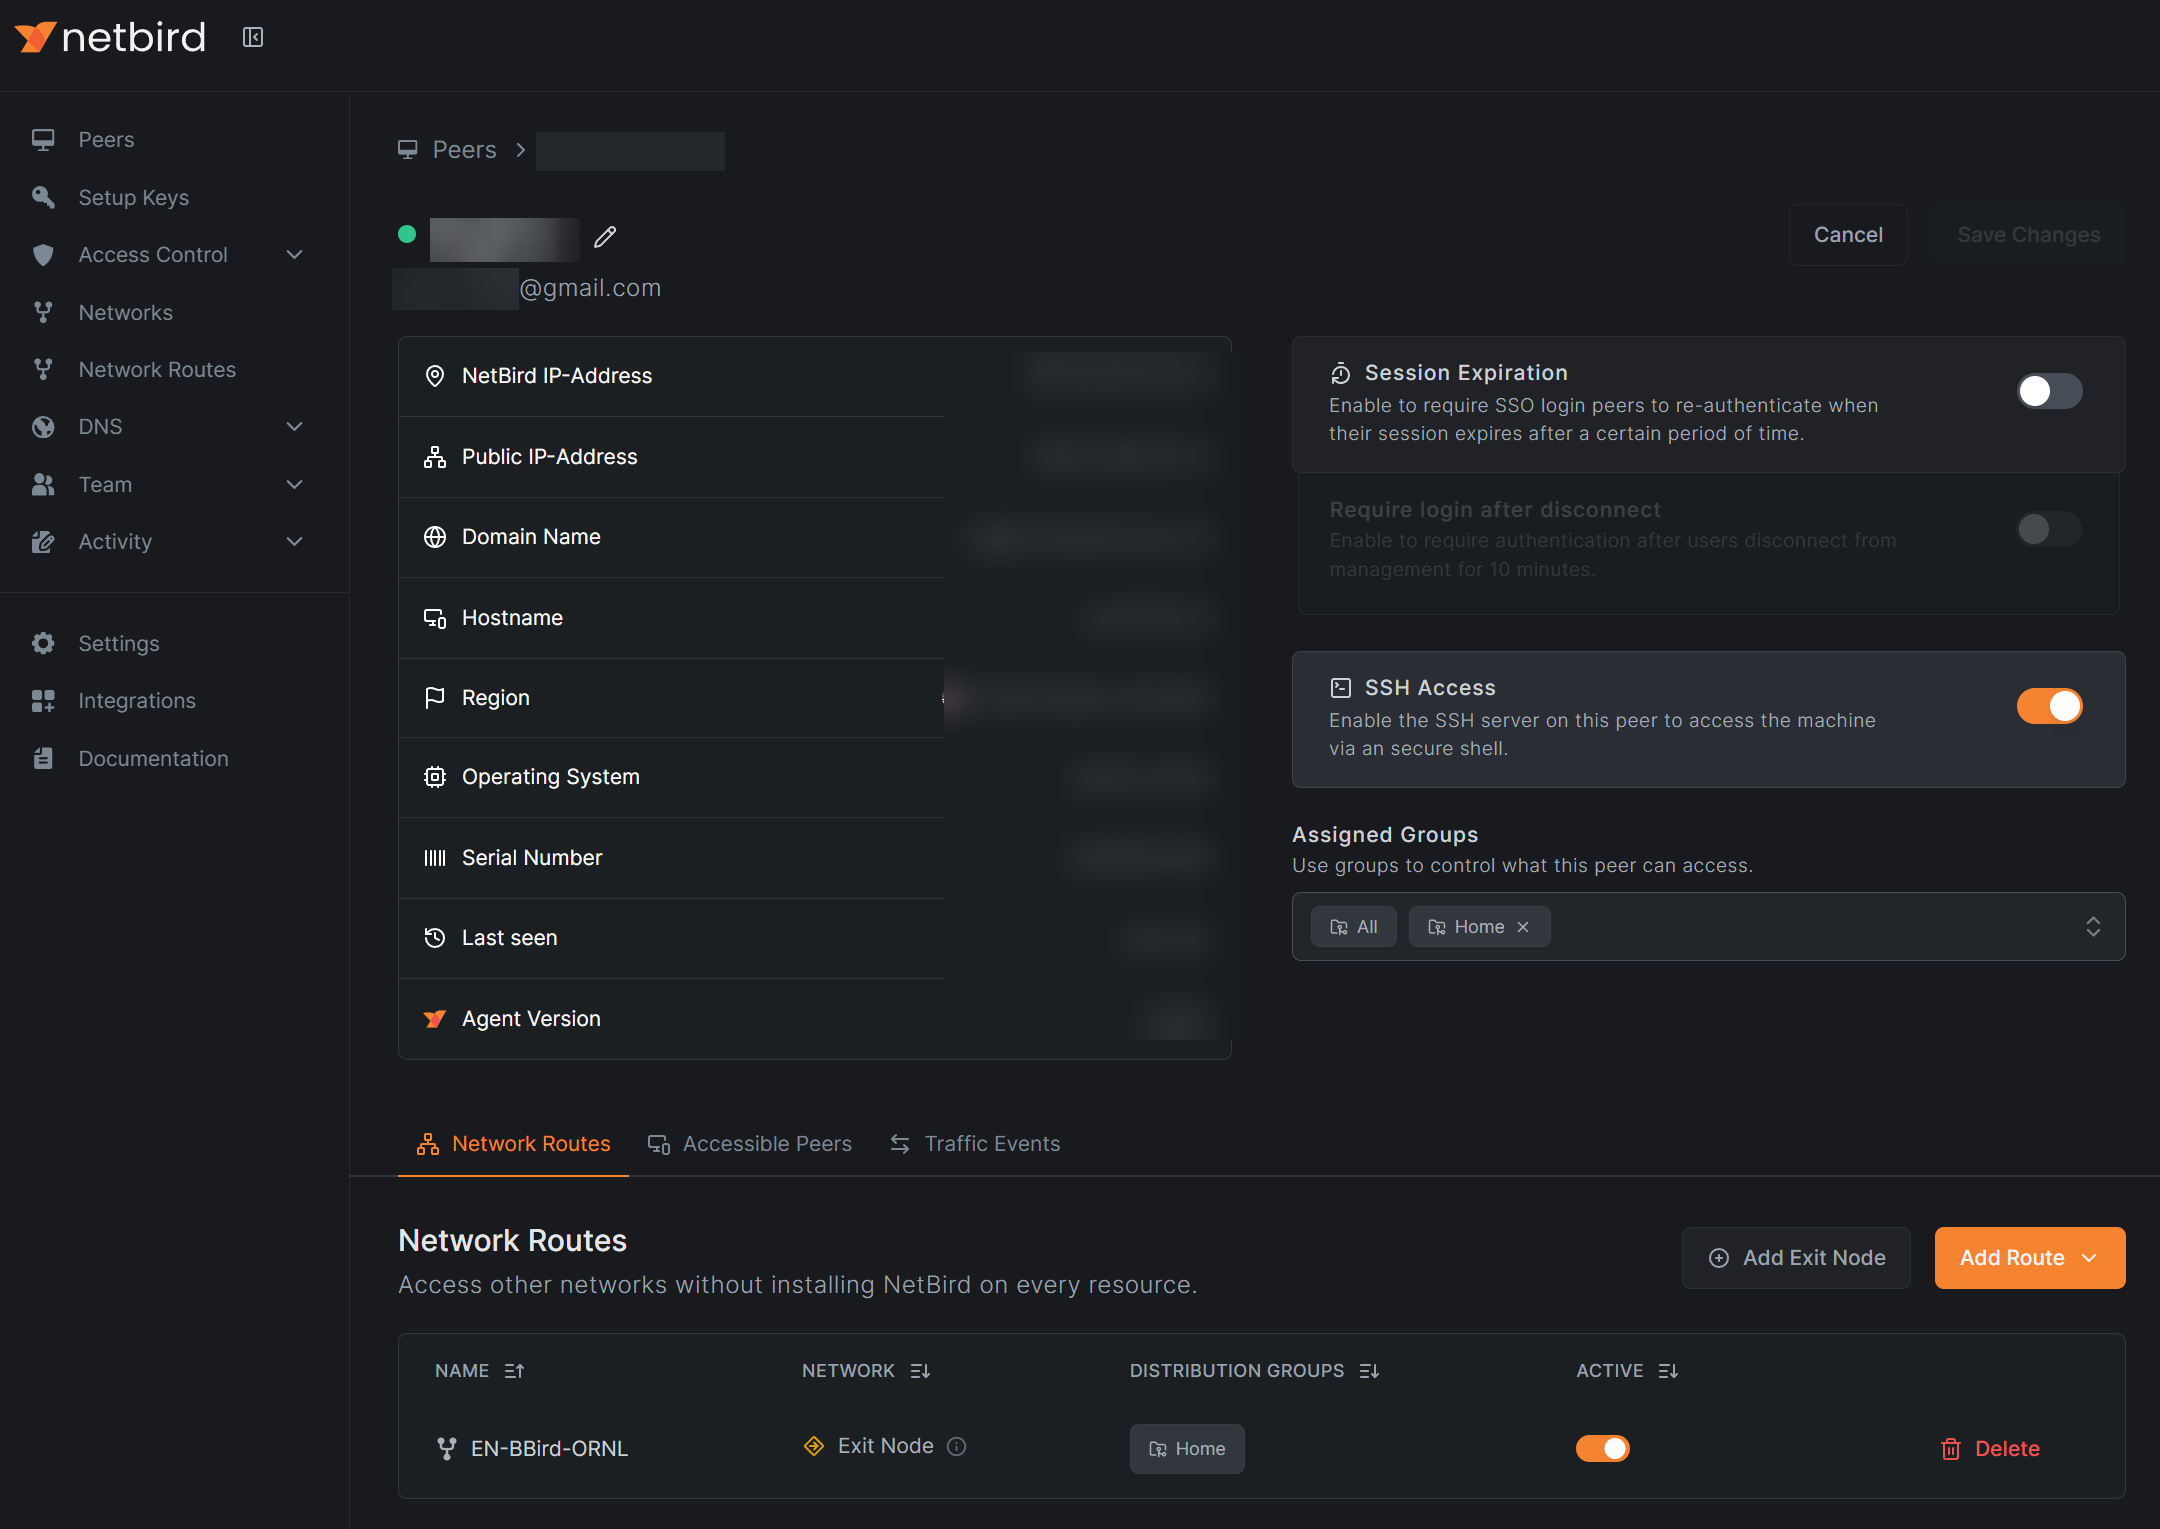
Now we achieve the first goal – to allow the inter-connection among those peers no matter whether they are inside or outside firewalls. But still it does not solve the second and third problem and that is where the network route and/or exit node is coming to help. The basic idea here is to redirect all the network traffic through a certain peer inside the netbird network. With network route, we can define a range of local IP addresses in the same local network (the real local network) where the peer to be used as the route, belongs. Once set up, let’s call our home machine Alice, the peer machine inside the firewall as Bob and the server machine (where, e.g., the internal web service we want to visit is hosted) inside the firewall as Charlie. In this case, even though we don’t have netbird configured on Charlie (therefore we cannot directly connect Alice and Charlie), the connection can still be established since the network traffic will be routed through Bob and Bob has no problem connecting to Charlie since they are both behind the same firewall. In the netbird dashboard, the network route can be configured through the Network Routes entry, or we can click on the peer to be used as the route and the setup can be done in the bottom section of the interface,

In this way, Alice can visit limited resources as specified the range of IP addressed while configuring the network route. Though we can define multiple routes, there is another sort of once-for-all solution, by setting a certain peer as the exit node. This means all the network traffic will be going through the selected peer (as the exit node) and in principle all the peers can visit whatever services that the exit node can visit. In practice, there may still exist some limitations with the exit node. For example, in my case, I was using one of the machines inside my organization firewall as the exit node but still I could not visit some of the web services hosted inside my organization firewall. I am not sure what the fundamental cause but I suspect it is some security routine configured on those servers that is blocking the traffic. Anyways, for me, the email service and access to those paywall-protected journals at least are working the exit node and that is good enough for me.
When setting up either
network routeorexit node, we can choose which peers to apply to. We can assign peers into different groups and select the group to apply thenetwork routeorexit nodeto. The group assignment can be done in theAssigned Groupsbox in the picture above.
On Windows and Linux OS, setting up network is usually straightforward. On MacOS specifically, we may encounter some issues. In my case, my organization is installing netskope security service on the Mac machines and netskope seems to be blocking the netbird traffic. So, in my case, I have to disable the netskope service to get netbird working. To do this, the following command can be used,
cd ~/Downloads
curl -L https://gist.github.com/christopher-hopper/c8033839ef927a201feb8a8e8d256ed7/raw/netskope-stop.sh -o netskope-stop.sh && chmod ug+x netskope-stop.sh
./netskope-stop.sh
In case the link above is not working, here is the backed-up script, netskope-stop.sh.
Also, if initial installation and setup ever failed, e.g., due to the netskope issue, we may encounter the following error (or something similar) when executing netbird up after disabling netskope,
Error: unable to get daemon status: rpc error: code = FailedPrecondition desc = failed while getting Management Service public key: failed while getting Management Service public key
In this case, we may need to uninstall netbird and reinstall it. If it was installed via the pkg file or the manual way using curl, we need to manually delete the netbird app from the /Applciations directory. Or, if it was installed with homebrew, see Ref. [3] for instructions about uninstall and reinstall. After the reinstallation, we may need to execute the following extra steps to clear the previous configuration,
sudo su  # becomes root
bash  # use the bash shell
rm -rf /etc/netbird/config.json
exit  # exit bash
exit  # exit root user
sudo netbird service stop
sudo netbird service start
netbird up
Then it should be working just fine.
For upgrading
netbirdto the latest version usingbrew, we need to run the commandbrew install netbirdio/tap/netbird, followed by running the series of commands above.
References
[1] https://app.netbird.io/install