In this post, I will be covering the application packaging on MacOS. It involves multiple stage of efforts, concerning the library path configuration, application folder packaging, release package preparation, and application notarization & signature. Here I am taking our RMCProfile package (a package for neutron total scattering data analysis, see here for details) as an example. Specific steps may not be generally applicable, but I hope the post can at least provide some hints about what to worry about. In fact, the most tricky part, namely the final stage of package notarization and signature, is indeed generally applicable.
First, our RMCProfile package is written in Fortran and we were using gfortran compiler to compile the codes to executable. The executable does require some libraries which we intend to include in the release package so they can be used directly by the executable without the effort from users to install those libraries. Here comes the first part we need to worry about while packaging up our executable and libraries. The libraries we need to incorporate into the release package might be installed into some local location on our compiling machine, such as /usr/lib, or whatever. Finding those libraries should not be a big problem. However, in many cases, those libraries may have further dependencies and we need to find and package up those further dependencies as well, which, again, is not a big problem. The problem is, library files on MacOS hard code the path of their dependency libraries. So, if we ship the libraries as is, on the user side, when they execute our executable, the shipped libraries will try to find their further dependencies following the initial hard coded path. But the user computer may not have those further dependencies in those initially hard coded locations. So, not only we need to package up all the dependencies, but also we need to change the hard coded dependency path to point to where our shipped libraries will be located on users’ machines. Now we are facing another problem, if our package can be placed anywhere on users’ machines, changing those hard coded paths will have to be done on users’ side. Fortunately, MacOS usually puts application under the /Applications directory – it is probably not enforced (I am not sure actually) but in most cases, it is at least a very commonly followed convention. This brings us the convenience of changing those hard coded paths on the developer side. To do that, we have to know what those hard coded library paths are, which can be done using the otool tool, by running something like otool -L libgfortran.5.dylib. Then we can use install_name_tool to change the hard coded path to where we intend to put our shipped libraries. The command will be something like,
install_name_tool -change /usr/local/opt/gcc@12/lib/gcc/12/libgcc_s.1.1.dylib /Applications/RMCProfile.app/Contents/MacOS/libs/libgcc_s.1.1.dylib libgfortran.5.dylib
where the first path after -change is the initial hard coded path, the second part is the new path we want to change it to. In this case, our package will be located at /Applications/RMCProfile.app and the shipped library file can therefore be located and used here. The final input is just the library file we want to operate on. One thing we should notice is that Apple may change those initial hard coded paths from time to time while they are upgrading the operating system, in which case we have no choice but to follow up to repeat the procedure here.
Next, we are going to prepare the RMCProfile.app directory – on MacOS, when we say an app, it usually refers to a directory with the name like APP_NAME.app. Yes, the app is nothing but a directory – we can right click on an app and click Show Package Contents to go into the app directory to view the contents inside. Here, I am taking our RMCProfile package as an example. The package can be downloaded here for reference. The directory organization is as below,
RMCProfile.app
   - Contents
      - MacOS
         - RMCProfile
         - exe
         - libs
         - RMCProfile_setup.command
         - tutorial
      - Resources
         - iconfile.icns
      - Info.plist
Here, ‘RMCProfile’ in the ‘MacOS’ subfolder should be exactly the stem name of our app (in our case, it is ‘RMCProfile’). It is actually an executable script. Once our app is installed into the ‘/Applications’ folder, launching our app actually execute just the ‘RMCProfile’ script here. The script is an AppleScript that further launches a terminal and run the RMCProfile_setup.command script to launch our RMCProfile main program. This is our specific steps of program launching as a chain and for sure in practice, one could have very flexible to come up whatever chain of executions while launching the app.
DON’T forget to make the
RMCProfilescript EXECUTABLE!!!
The ‘iconfile.icns’ under ‘Resources’ folder is our icon file. The file name is arbitrary, and it has to be specified in the Info.plist file. Here, I am showing a simplified version of the Info.plist file, specifying nothing but the icon file,
<?xml version="1.0" encoding="UTF-8"?>
<!DOCTYPE plist PUBLIC "-//Apple//DTD PLIST 1.0//EN" "http://www.apple.com/DTDs/PropertyList-1.0.dtd">
<plist version="1.0">
<dict>
      <key>CFBundleIconFile</key>
      <string>iconfile</string>
</dict>
</plist>
Before moving on, one tiny step to take – create a soft link to the /Applications directory and put it somewhere – we will use this later when preparing the release package. Now, our app file is ready and next, we are going to prepare the release package. One may wonder that, since the app file is in fact just a directory and we have already got the directory ready, can we just give users the app (e.g., the RMCProfile.app in my case), they put it under their /Applications directory and everything should be working, right? In the old days, this is probably fine. In fact, in the old days, we don’t even need to prepare the app in the RMCProfile.app structure as shown above – we can just put our program folder under /Applications and launch our program (e.g., execute the RMCProfile_setup.command script from the terminal) without any problems. However, this is already not possible on the new MacOS systems. I cannot remember from which version of the MacOS did we start to have such strict constraints by Apple – the shipped libraries and executables have to be signed and notarized (basically, submitted to Apple and they will check the program for malicious stuff). But anyhow, for most running MacOS these days, such strict constraints exist. If we still use the old way of shipping apps, either they cannot be executed on the user side, or, users have to click OK to confirm for every library included in the package, every time they launch our program. This just becomes unrealistic. So, there are several things for us package developers to do,
-
First, we need to become an Apple developer (at developer.apple.com/), which costs ~$100 per year – yes, we develop packages for Apple and we need to pay for doing that. This is Apple. Well, Apple probably does not think so – you guys are not developing for us; instead, we are providing the platform for you to develop, so it shouldn’t be free. Well, anyways, Apple, you win – I am not going to argue with you since I know, there is no way I can win this argue, and I have to follow your way, anyhow.
-
Once we pay and become an Apple developer, we can log in developer.apple.com/ and we will see the following,
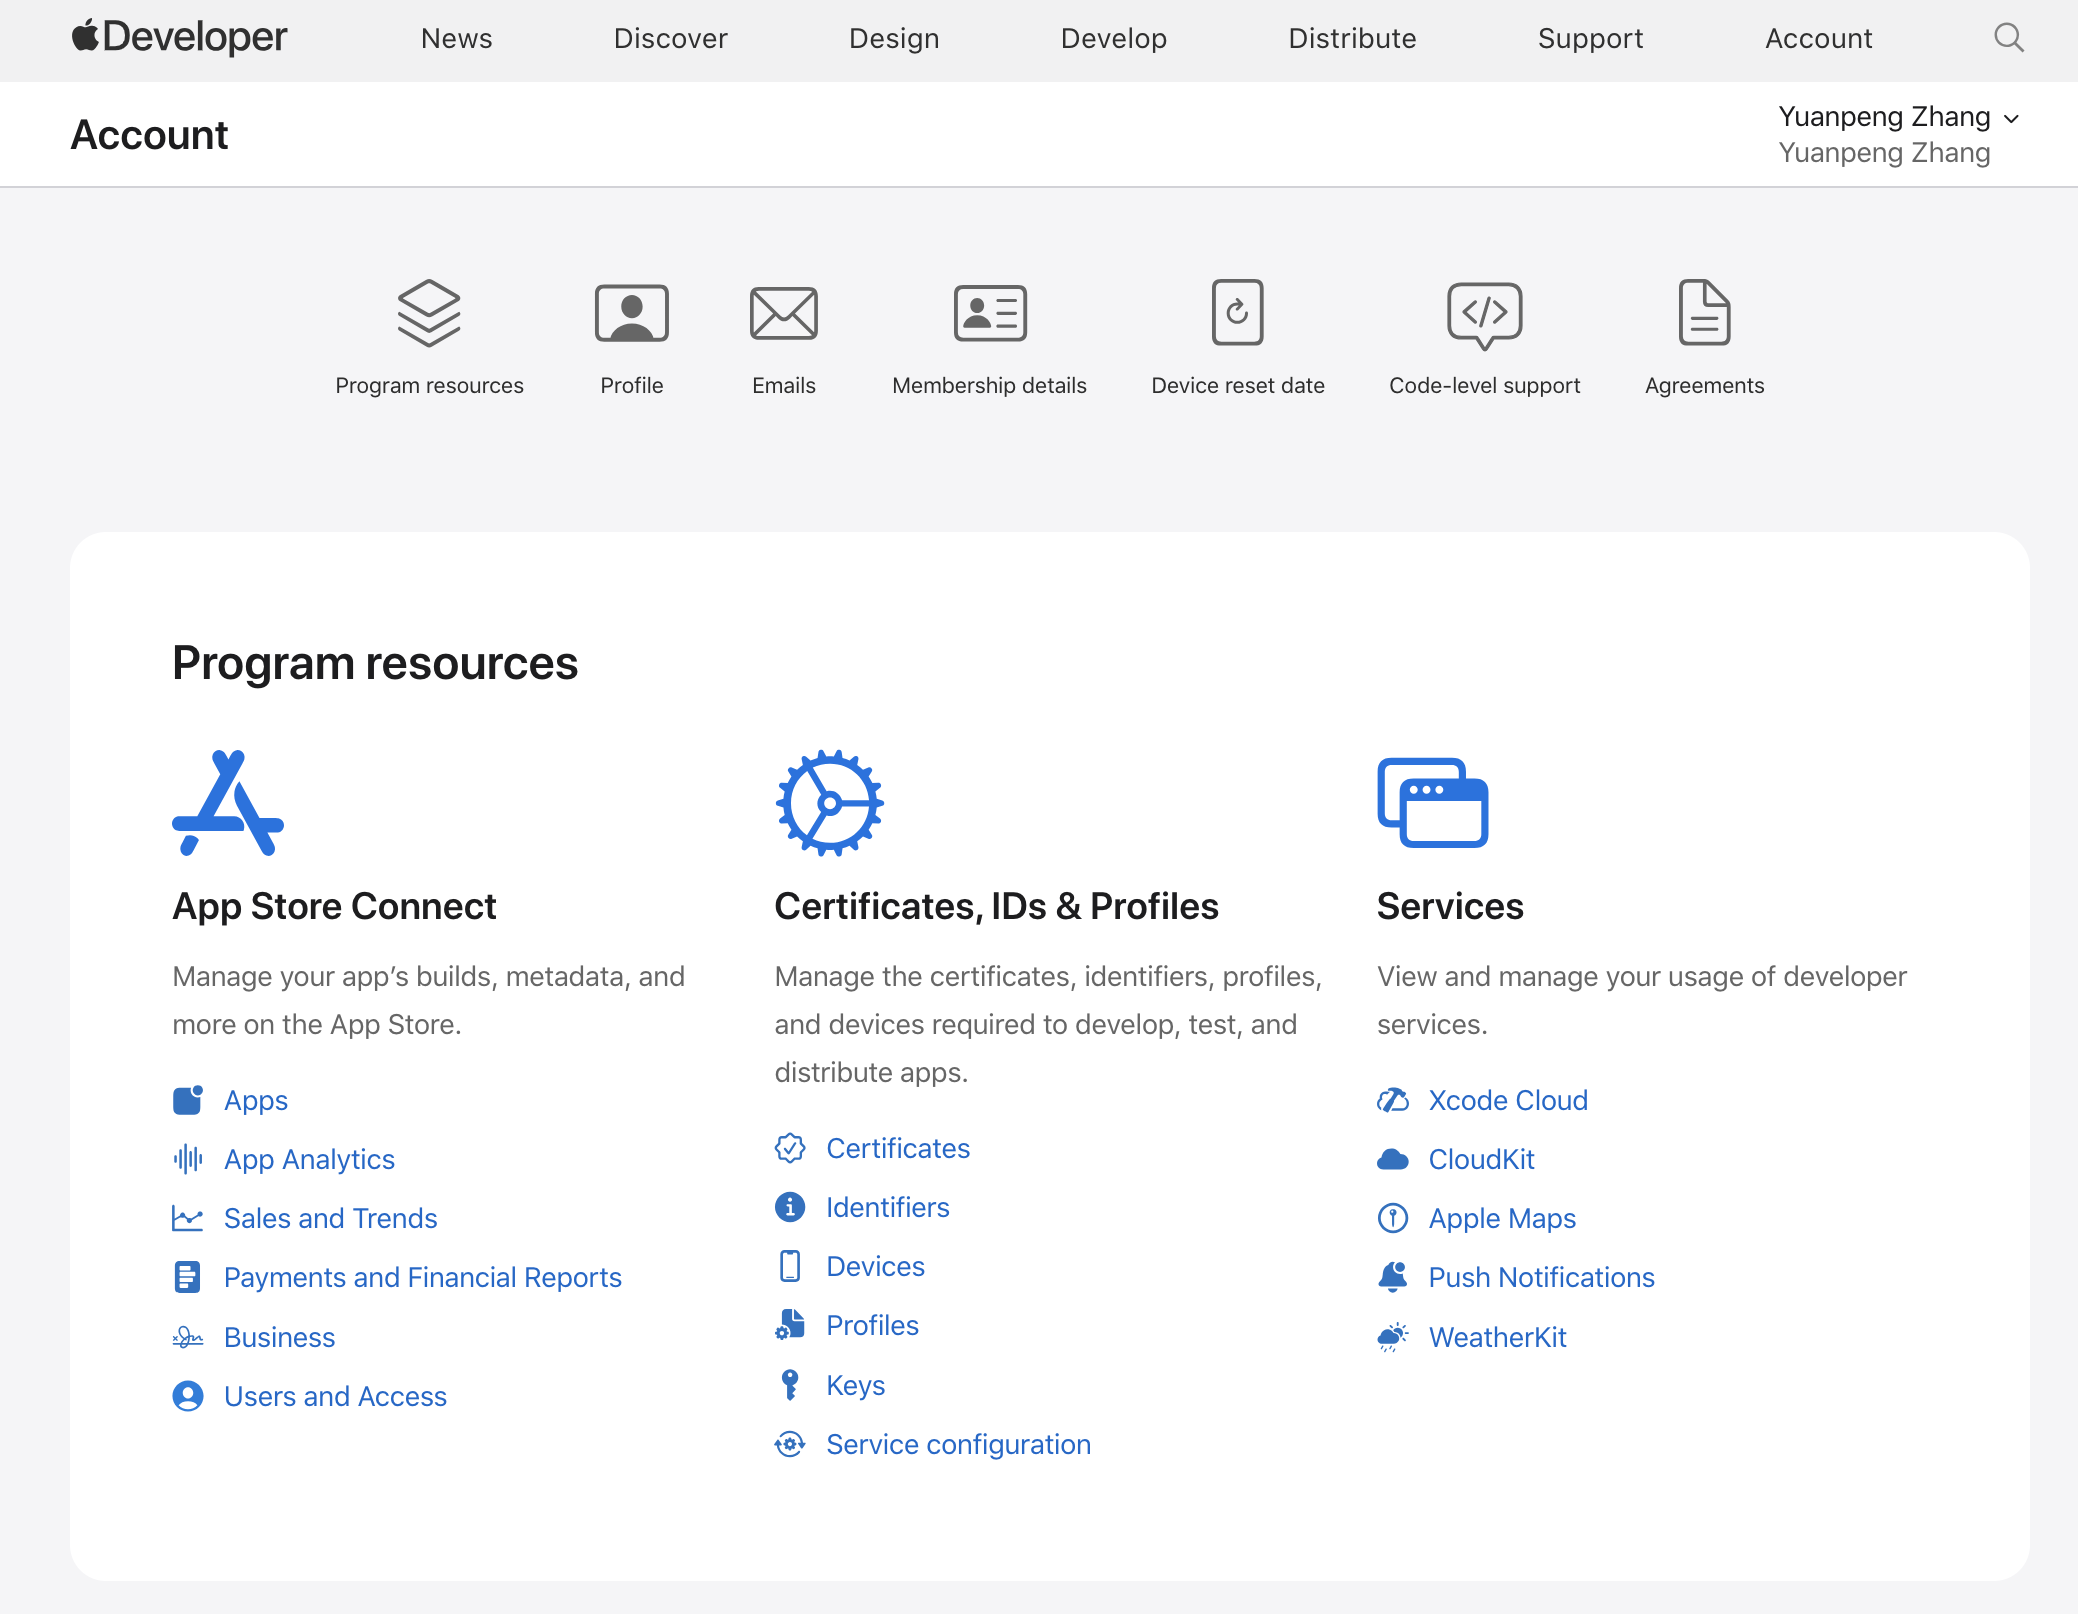
- Next, we want to create a certificate and download it to our local development machine – to do this, click on the
Certificateslink shown above. Then, we want to click on the+sign in the presented page to create a certificate,
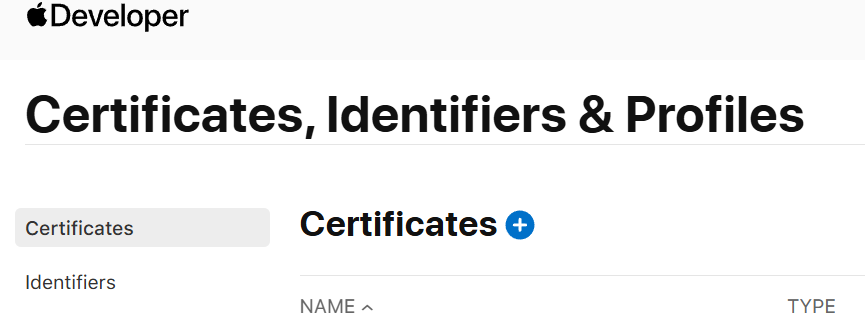
-
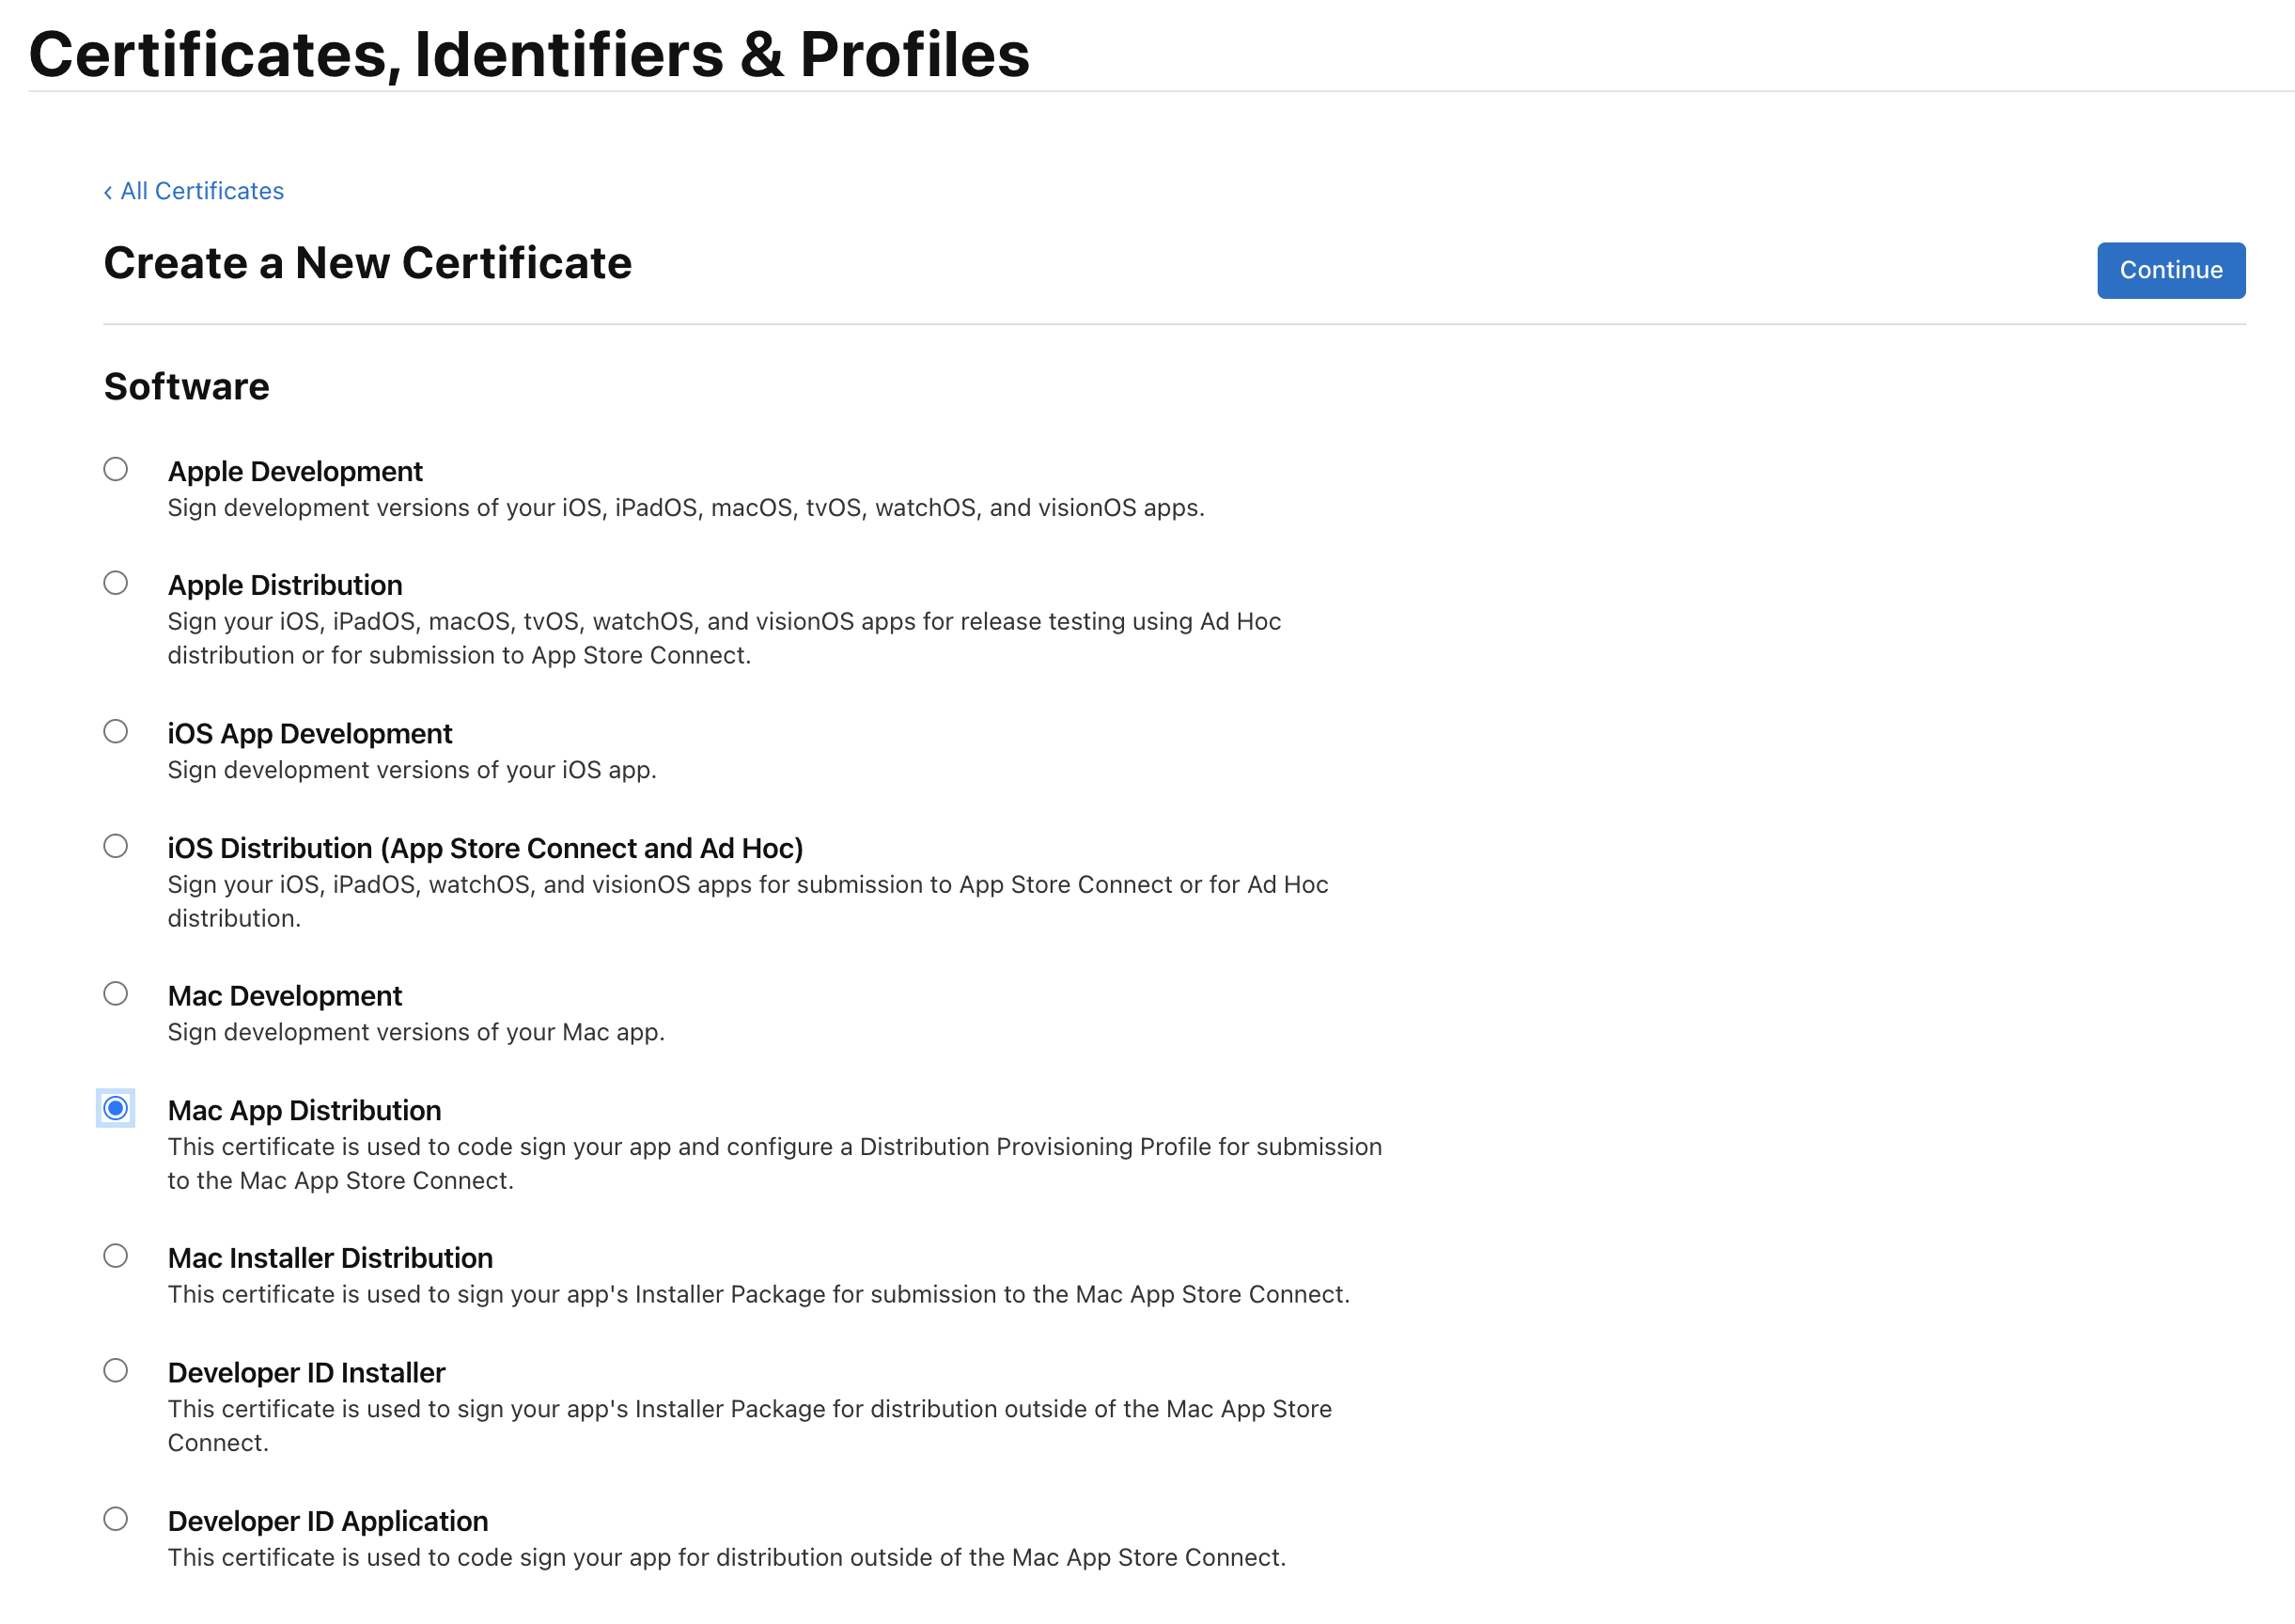
Then we will be prompted the interface to select
Softwareto develop and in this case we want to selectMac App Distribution,We don’t have to select anything for the
Servicesin the page, but we have to check to agree the agreement down at the bottom of the page.
- Next, we will be prompted the interface to upload a Certificate Signing Request (CSR) file,

-
The steps here can be followed to generate the CSR file on our local development machine. Then we can upload the file on the interface above to finish up the certificate creation.
-
Once the certifcate is successfully created, we should be able to see it in the
Certificatesinterface as presented above (the image following the 3rd step above). Clicking on the certificate, we can then download the certificate to our local dev machine. -
We can then double click on the downloaded certificate to import it to our
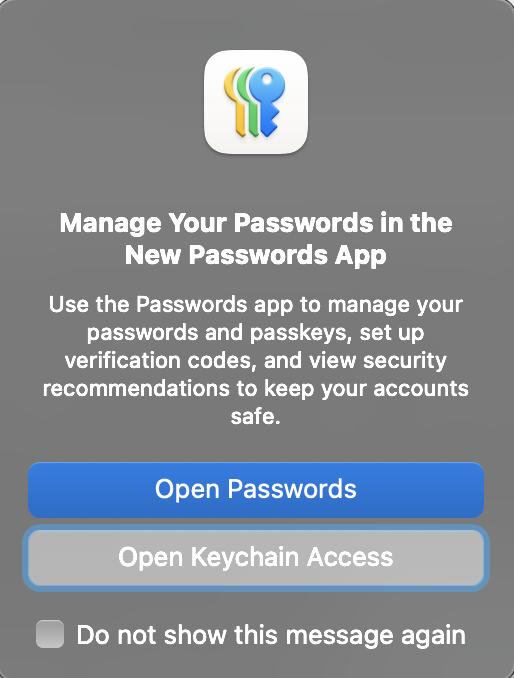
keychain. When theManage Your Passwords in the New Passwords Apppops up, just click on theOpen Keychain Accessbutton,
- The certificate is now in our keychain and we should be ready to move next, regarding the executable and libraries signature and the final notarization. Apple does provide tools to do both, but I found it is a bit tedious to follow. Here, I am using a tool called
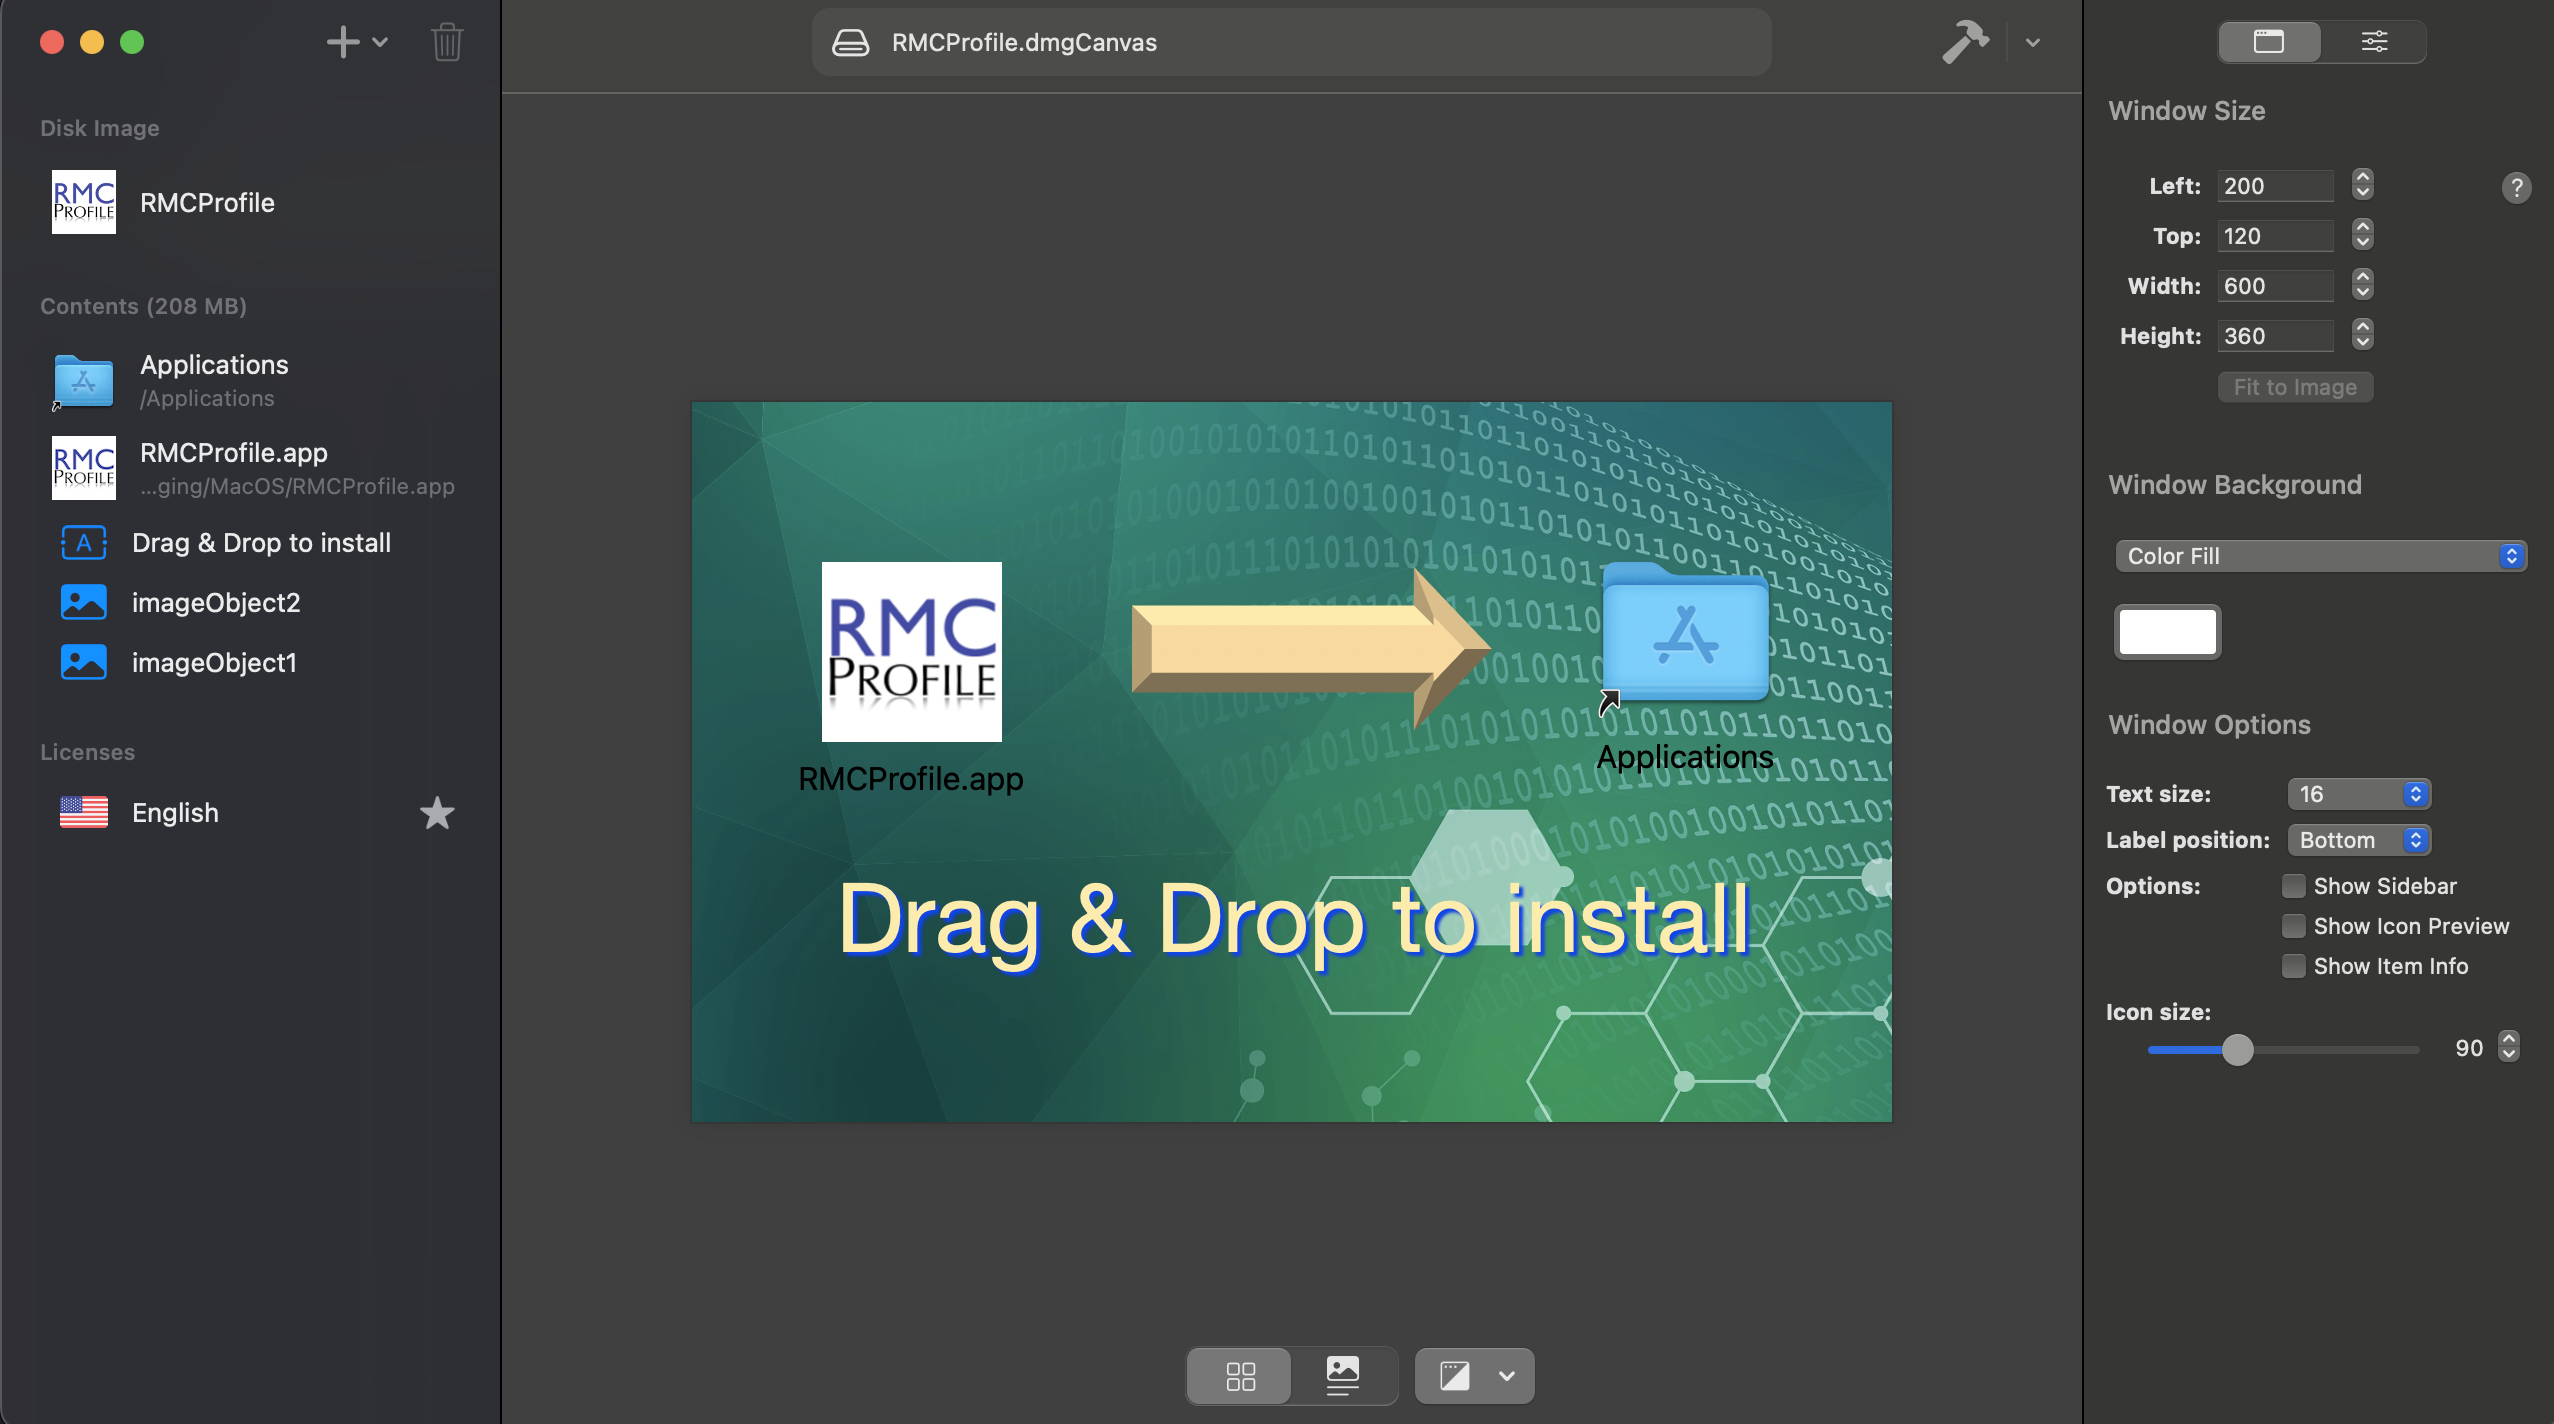
DMG Canvaswhich can do all the following steps regarding the packaging (to aDMGfile, thus named) and notarization. It is not free, either, but it does help a lot in saving efforts. This is the main interface of the program,
-
Here we need to add in our prepared
RMCProfile.appfile and if we want, we can add in a background image to make it more beautiful. Also, we can add in the soft link created for the/Applicationsdirectory as mentioned earlier as well. All of these adding-in can be done via the+button (top-left in the image shown above). -
Clicking on the app
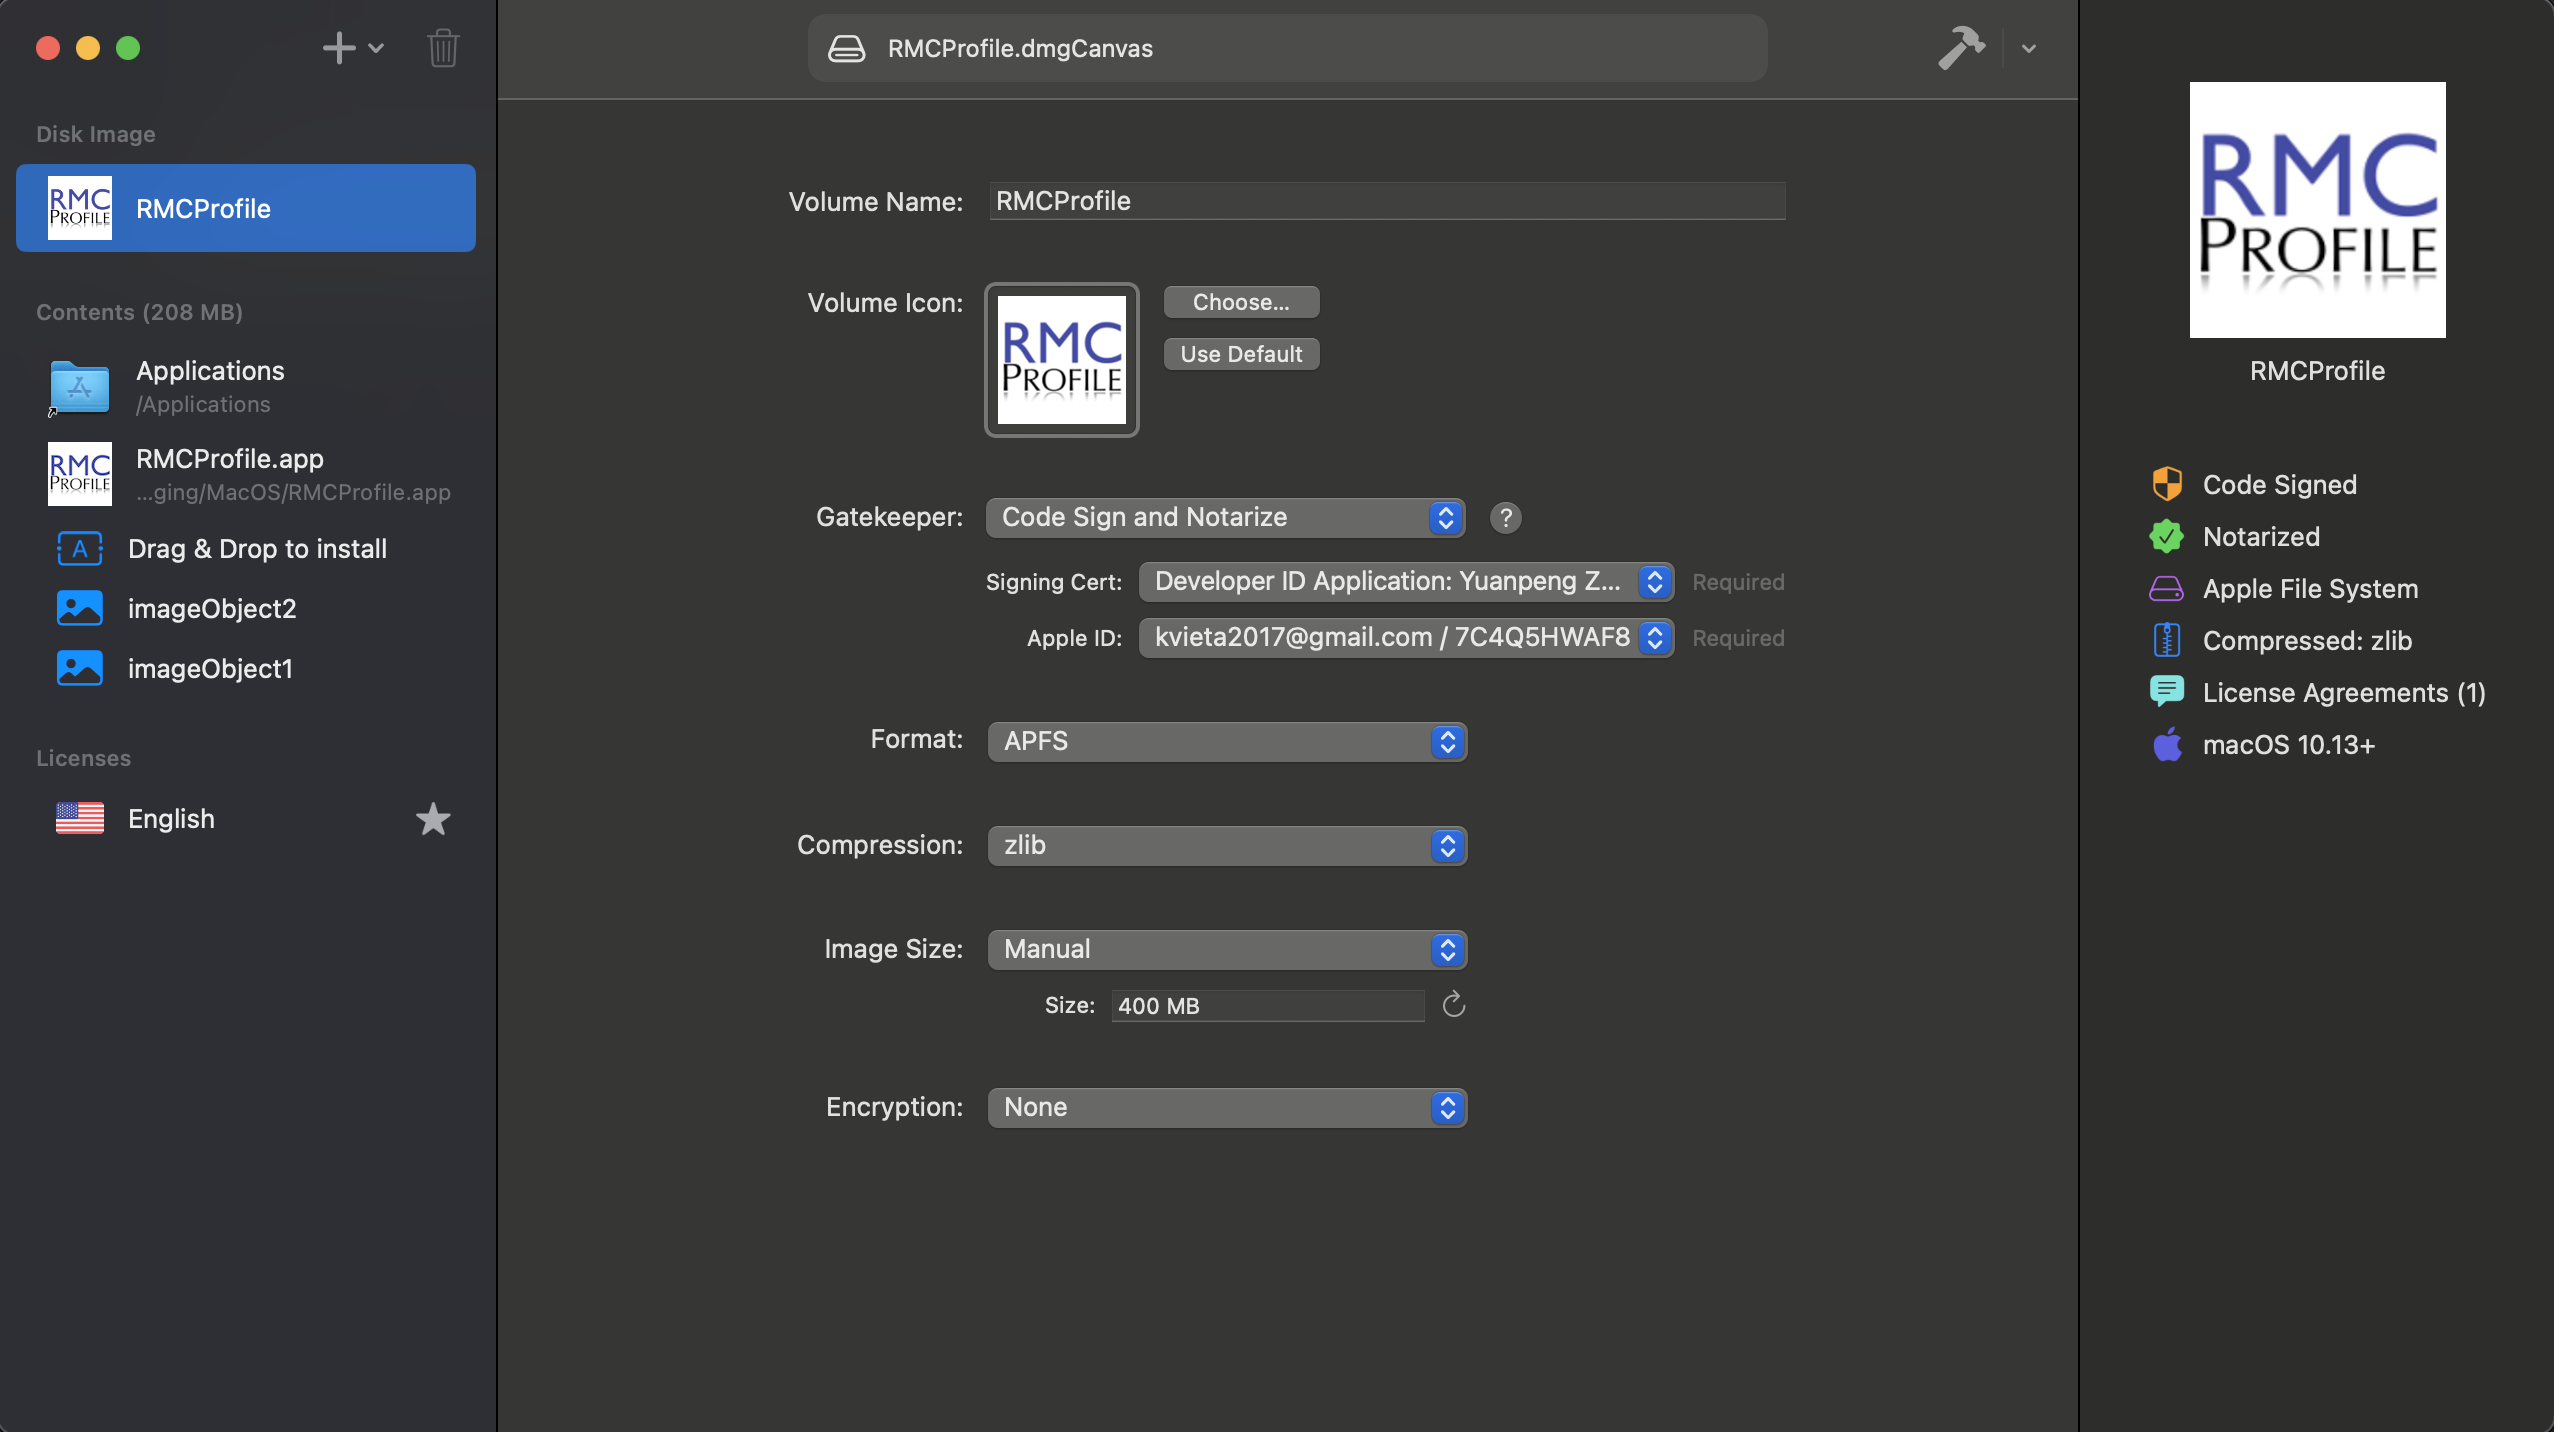
RMCProfileunder theDisk Image(in the left panel in the image above), we should see the interface like below,
-
We can choose an icon for the
DMGfile to be created. The critical step, though, is to select theGatekeeper–Code Sign and Notarizeis working for me – though, I found still I need to sign those executables and libraries included in my package manually, as I will mention next. If we successfully imported the certificate into our keychain, we should now be able to see the relevant selection from theSigning CertandApple IDdropdown list and we just need to select it (actualy, both are associated with the Apple developer ID). -
Once all the preparation work is done, in principle, we should be able to finalize the packaging, signature and notarization steps all-at-once by clicking on the little hammer icon as shown in the first
DMGinterface image above. However, in my case, I found that theDMG Canvascanot sign all the libraries that I include in my packages – maybe it is because of my specific way of including those libraries. But anyhow, I just have to sign all the executables and libraries manually before I hit the hammer button to finalize. To do the manual signing, we want to run something like,codesign --force --verbose --options runtime --sign 'Developer ID Application: Yuanpeng Zhang (7C4Q5HWAF8)' my_lib_or_exe_file_to_signIf the
codesigncommand is not available, we need to installXCodeand theXCodecommand line tools.XCodecan be installed in the Apple store, if it is not already installed initially. To install theXCodecommand line tools, we need to runxcode-select --installfrom the terminal.Developer ID Application: Yuanpeng Zhang (7C4Q5HWAF8)here is referring to the certificate that we previously imported into our keychain and again it is associated with our Apple developer ID. We can see it in theKeychainapplication, if we go toSystemand check out the name among all the imported certificates. If we see3rd Party Mac ...in front of the certicate name, we need to exclude that from the certificate name put into the command above, namely the certicate that we put above should start withDeveloper.... -
We just need to run the command above on all our executables and libraries included in the
RMCProfile.app, using, e.g., a bash script. As we said earlier, theRMCProfile.appis in fact a directory, so we cancdinto it from the terminal. -
After the manual signing, in my case, I have to run the following command from the terminal,
xattr -r RMCProfile.appIf we don’t do that on our side, when users download our package and try to open the app, Apple will complain about the app is damaged or something, in which cases users then need to run the command above on their side to solve the issue. If we do it here, they don’t need to do it.
-
Finally, we go back to
DMG Canvasand click on the hammer button to run through theDMGfile building and theDMG Canvaswill upload the packagedDMGfile to Apple for notarization. At this stage, we don’t need to do anything manually, but just waiting for its finishing. -
Now, it is the
DMGfile we packaged, signed and notarized that we want to ship to users. On their side, they just double click on the downloaded DMG file and install our app just like the installation of a typical MacOS app by drag-and-drop.
Updates on Jan-09-2026
While running the DMG file preparation (with, e.g., DMG Canvas), if issues happen, quite often it happens with the certificate not being valid, which goes further to the Apple developer account. Apple may update the developer agreement frequently and that means we need to sign in the developer account from time to time in case re-signing of the agreement is needed. Without the agreement signing, the notarization step will fail. It also occurs to me that after a while not using doing the apps preparation on the machine, all the previously certificates stored in the keychain is not functioning. This is probably something to do with the machine or account update or whatever. Anyways, in this case, we may need to delete all the certificates and download new certificats from the developer account and import them into the keychain. While importing those new licence, we want to make sure that all the intermediate license are also imported. To get an idea about what intermediate license will be needed, we can try to create a new certificate following the instruction above and in the resulted page, if we scroll to the bottom of the page, we will see a few links under the Intermediate Certificates section for those needed certificates. We can simply download them and double click to install them into the keychain.
Also, one thing to keep in mind that, after we install the downloaded certificate into the keychain, if we click on it and see some red or orange warning, thatprobably means we are probably missing something. Quite often, it may be the intermediate certificates that are missing. Anyhow, those certificates are only going to work if we see green symbols while highlighting a certificate. One more thing is, if we double click the certificate, we will see the option regarding ‘how to trust’ the certificate. We should not change it to Always allow – by doing that, we are hoping it will save the efforts of clicking trust button in the popping-up window while using the certificate. However, I found that if we change the option to Always allow, the signing step would fail. Not sure whether this is just my case or univerally the case.
N.B. The forum Q & A in Ref. [1] may be helpful for problem solving.